Modification of a Cheap Electric Guitar
Outline
The goal is to take a cheap guitar that someone has painted very badly, strip it, re-spray it, get new hardware and put a distortion effect inside the guitar.
I didn't know that I would write about this work so there are parts that are written but have no images. The pictures that do appear were taken for posterity and unfortunately suffer a variety of poor backgrounds and lighting.
So in the beginning I had it all planned. Well no, more accurately, in the beginning I said to some of my friends, "I've got this cool idea" and went blazing in thinking it would only take a month start to finish.
First mistake
I purchased a guitar for the princely sum of £60.00 in April 2004 from an Oxfam shop in Broomhill, Sheffield, England. It was in a terrible state. Originally a black fender Stratocaster copy with white scratch plate dials and pickup covers, it had become a black silver blue and purple mess, the chrome plated hardware was rusting in places (where the chrome had come off) and the neck was taken from a Peavey predator. Inspection of the truss rod showed it to be square and therefore the neck was cheap and not very good. I removed the strings, all three of them, and replaced them with Ernie Ball Super Slinky. I then set the guitar up truss rod action intonation etc. Plugged it into a little fender amp, and found the sound that emerged was reminiscent of the middle solo from Bohemian Rhapsody and it sounded just like Brian May only sloppier and the timing was all over the shop - like I was playing it...
Further mistakes (investigations)
Further investigation of the circuitry showed that a past owner had changed the pickup arrangement such that the neck and middle pickup were always in series and the bridge pickup could be switched off or in parallel with the other two. This is close to one of the many options May has on his Red Special. The guitar was put back together and played regularly for about six months. I really enjoyed playing it, not because I could get the right sound (although I do play Queen) but because the guitar had been abused so badly by its previous owner(s) that a few more dents and chips in the paintwork would make no difference. I could throw it around and it really didn't matter.
And then I had this 'great' idea - to change everything. I decided I wanted a distortion/pre-amp in it too. So out came the router. The guitar was completely dismantled and holes were made. On the back of the guitar, under the plate which distributes the load from the neck bolts into the body of the guitar, a date 04/15/83.
Now the paintwork had huge scratches in it from the router base. That would never do, I'd just have to spray it... Oh blast! ;-)
So down to B\&Q back came (with advice from Matt) drain cleaners gauntlets, a can of 'Nitromorse', Wire wool and three cans of Plasti-Koat Acrylic Primer. Now the last time I sprayed anything was when I attended secondary school and I admit I was crap at best. This was going to be fun.
Strip
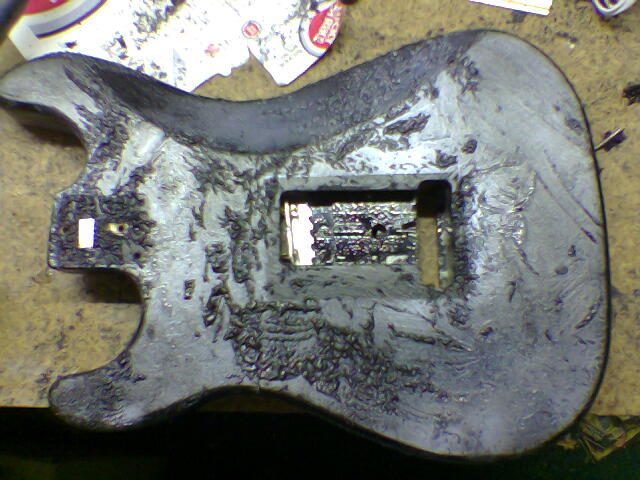
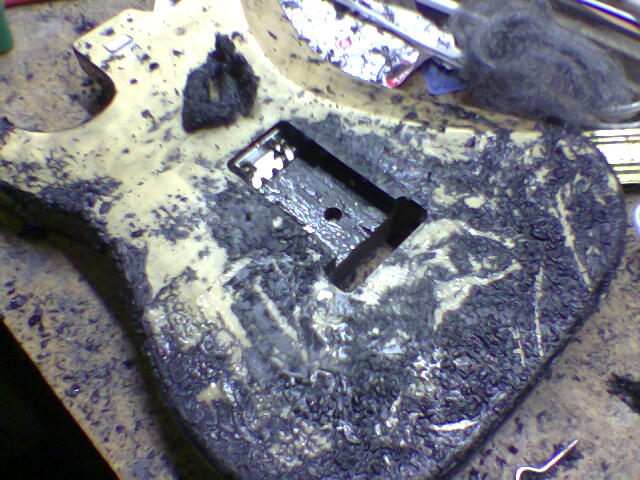
Nitromorse is just a brand of paint stripper. The back of the guitar was liberally coated to see the effect. As Matt predicted the paint rose, and the wire wooling began.
Preparation
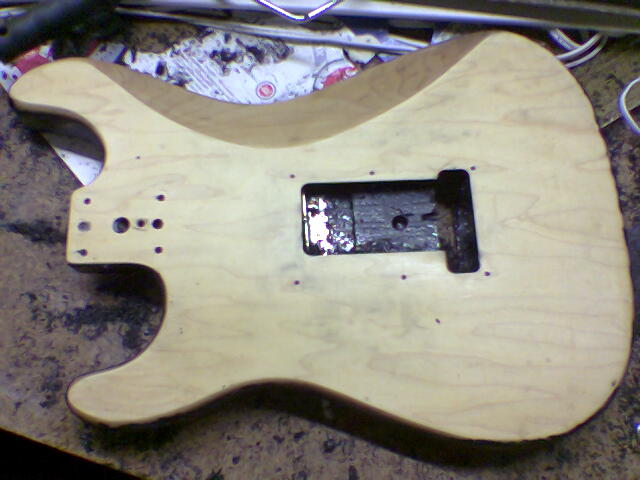
Now having completely removed all paint from the guitar, the wood which is very dry is completely unprotected. It's dry because it can't have gained moisture when it was sealed in '83 (the last time it was properly painted from the wood up). It is necessary to act fast. This was made more important because this part of the process was conducted in a cold damp atmosphere in a basement of a house I was renting a room in. It would have been unwise to wait for the paint stripper to become inactive on its own, so it needed some help. Washing-up liquid is good for this. The washing-up liquid is placed on a scouring pad ('brillo-pad') and the wood is scoured. This is equivalent to using a number 1200 "Wet 'n' Dry" paper with washing-up liquid on it. The liquid neutralises the paint stripper and the scouring ruffs up the wood a little to help the first layer of primer bond.
With the bare wood exposed it was clear that the body was made of 5 segments of wood running in the direction of the longest edge of the guitar (neck to bridge); it is very unlikely to be a 'real' Strat.
Prime
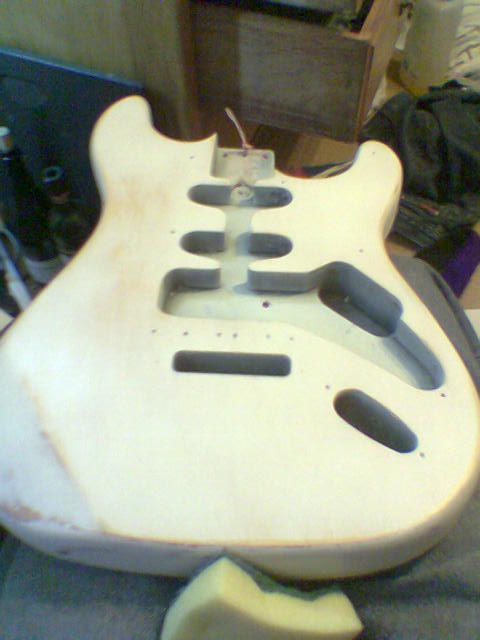
If like me you didn't know that you need to seal wood before spraying with a primer you will find that the wood absorbs the paint freely. Three coats of primer were applied before the first rub down. Rubbing down with a number 600 "Wet 'n' Dry". A further two primer coats were applied with rub downs in between.
Bounce
I moved house, as I moved the (white) guitar was put in with my white shirts. When the shirts were removed from the car the guitar body and bounced on the pavement
Oh the pain, the unending pain, that should have been inflicted on Matt, for dropping it. Oh well. What's done is done.
So out came the paint stripper
The guitar was stripped back to the wood. Then back to B&Q to find some filler (the putty kind that looks like cake mix when it's just right). It was applied it to all the dents and gouges in the guitar. Then work was prepared and sprayed with the three coats of primer as before.
Colour
Glow in the dark pink, green, yellow or blue or perhaps just black. Black, because black was the original colour.
Spraying the Colour
Back to B\&Q to purchase two cans of black acrylic. If an acrylic primer is used an acrylic top coat and lacquer should be used as well. Two coats of colour were sprayed with a sand down and preparation in between. After about a week three more were sprayed. The last one was a bit rushed and when sanding the paint had not hardened properly, it paint rolled into little sausage like shapes under the sandpaper. Patience is a virtue
Having waited appropriately the body was sanded back to the point where the paint was flat using a number 600. Then prepared and sprayed again. And again.
By this time it was May 2005. I was on the move again, back to London this time. Work commenced shortly after my return to London and gathered pace somewhat. Two more cans of black were acquired.
Three coats of black later (with the usual preparation in between) and I had something I could see my reflection in.
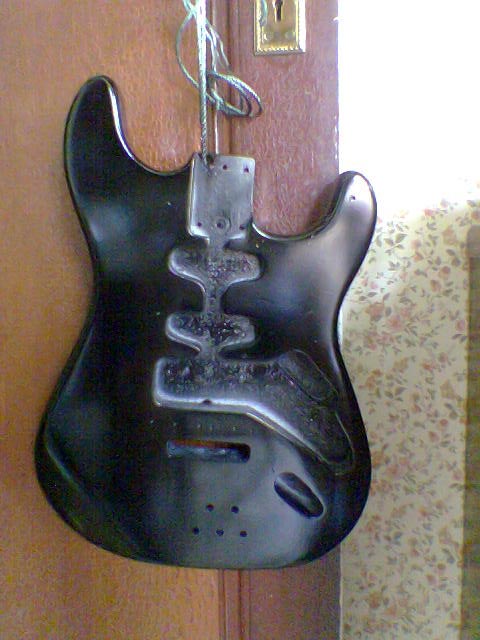
Lacquer
Three days drying were allowed between the last coat of black and the first coat of lacquer, just to be sure.
The lacquer used was Humbrol 'Crystal Clear'.
Three coats were applied to the back of the guitar in one and a half hours - it dries very quickly.
This was left for three days to go rock hard while the front was lacquered. The back was then sanded quite harshly with wet 'n' dry I think I used 400. The back is then given a single coat of lacquer and when that is dry it should look like it just came out of the factory. The same was applied to the front. The sides are done effectively twice as you go round them quite lightly when spraying the main faces. Obviously preparation at this stage is even more important than usual.
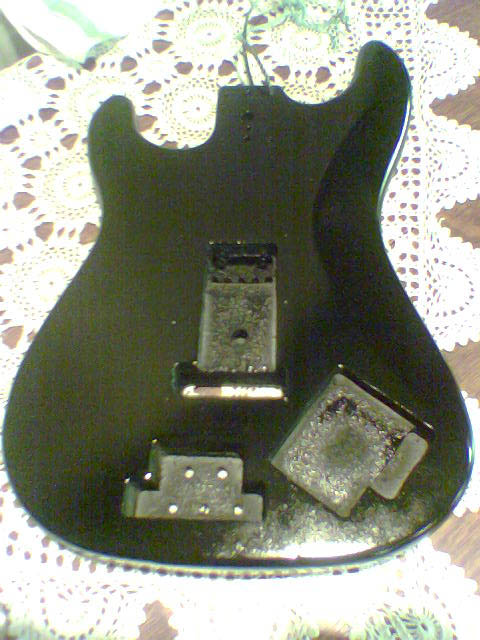
If there is a secret then it's for god's sake use a gun in a spray shop - thicker coats, better paints, air control, partial size control, fume extraction etc. what's not to like? Assuming that's not possible, preparation, organisation and patience are absolutely everything.
The Effect
The effect is a clipping circuit involving some AC128's. The only precaution that must be taken is a screen must should be provided round the circuitry or hum may be induced as with pickups. Baking foil is good for this.